For our next group (August 4th at 6:30) please bring something you want to work on. Whether it's the water bottle holder, one of these patterns or something you've found, I want to let you do what you'd like at this point and I'll help you as you need it!
Tote Pattern
Granny Square Pattern
Beanie Pattern
The charity links at the right also have some patterns that may work for you.
If there is anything you'd like me to help you find, just leave a message here or call and I'll do my best!
Wednesday, July 27, 2011
Monday, July 25, 2011
YARN!!!
I just had to share that since Sugar n' Cream and Peaches and Creme yarns are now owned by the same company, Wal-Mart has started actually carrying a decent selection of yarns. It's so nice to go and see TONS of color rather than just a few uglyish ones!
Add to it that other companies are making some awesome yarns that are easy to get, I'm in crocheter's heaven!
I just thought you should know!
Add to it that other companies are making some awesome yarns that are easy to get, I'm in crocheter's heaven!
I just thought you should know!
Sunday, July 17, 2011
3 ways to Crochet in the Round
As with most things, there are several ways you can crochet in a round. My favorite way, and the one that I think is easiest to get stitches into is the Magic Ring. It is the easiest to get the hook into several times and you can do as many stitches as you want.
In a ring made from several chains is probably the easiest to start with. It is easier to hold onto.
In a ring made from several chains is probably the easiest to start with. It is easier to hold onto.
In a chain of stitches.
Ch 4. (Or whatever the pattern calls for.)

Sl st in first ch made.


Ch 1. (Or more for taller stitches.)

Make number of single crochets called for in pattern.

Magic Ring
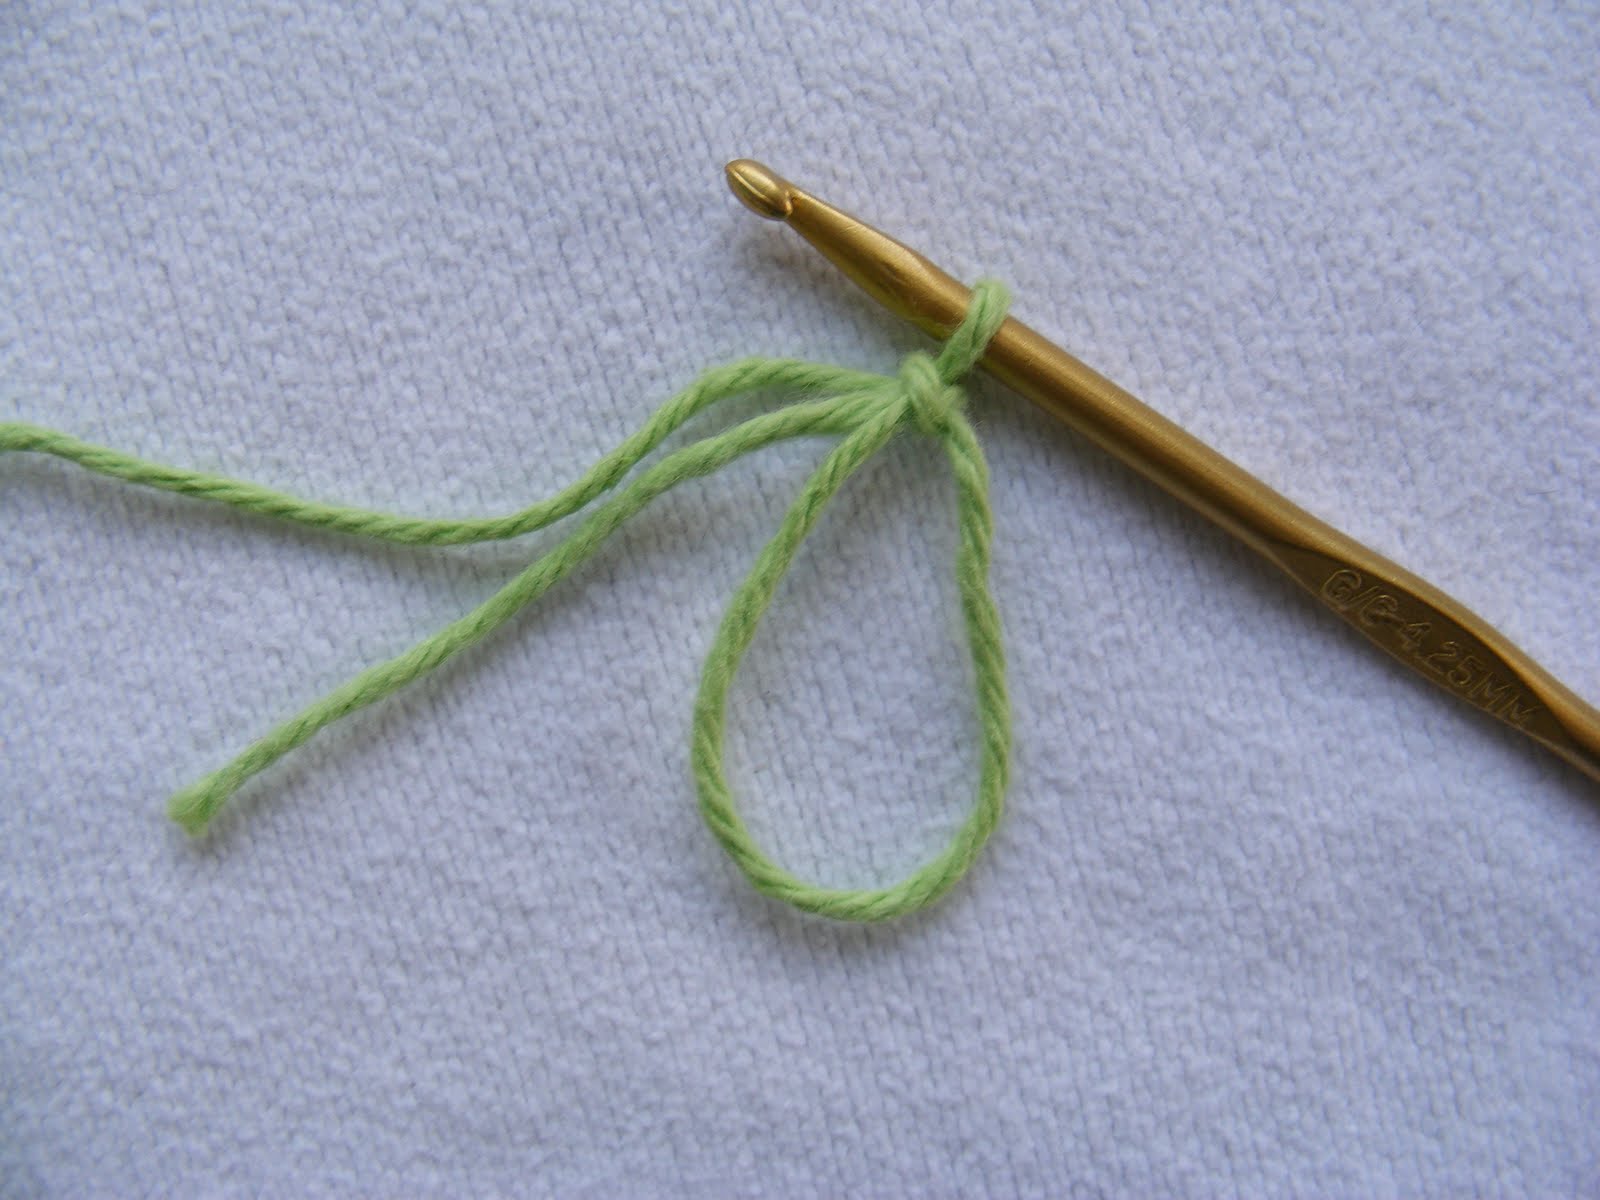
Make a loop around your hook.

Yarn over and pull up a loop.

Make a slip stitch.
Make desired number of single crochets.

Pull tail tightly. You can adjust the size of your center hole at this point.

Insert your hook into the first single crochet you made in the circle.

Create a single crochet.

In one chain.
Chain two. (or more for taller stitches)
Chain two. (or more for taller stitches)

Insert hook into first chain.

Yarn over and make a single crochet.

Continue making the desired number of single crochets (or other stitches) in chain.
Third Meeting Time
I'm going to have to find a new meeting time for our third go around. I'm going to be at Bear Lake for the time we scheduled...
Thursday, July 14, 2011
Water Bottle Tutorial
Here is the picture tutorial for the water bottle holder for class:


Add strap. Finish off.
Chain 4

Insert hook into first chain made.

Yarn over and pull through loop on hook. (Sl st)

Ch 1.

Sc in circle.

(sc in circle, ch 8) 6 times.

One loop made.

Sl st in first sc made.

Ch 4.

Sc in top of next loop.

Ch 8.

Sc in next loop.

Continue until desired height.

Add strap. Finish off.
Water Bottle Holder
Here is the water bottle holder we are going to learn how to make at tonight's class.

Pattern:
Ch 4, join. Ch 1; (sc, ch 8) 6 times. Ch 4, sc in next loop. (ch 8, sc in next loop) as many times as necessary for desired height. Don’t FO.
Strap:
Ch for desired length. Sl in opposite side of holder. Ch, turn. Sc in each ch across. FO.
If you want the strap to be wider, just make an extra slip stitch in the opposite side of the and sc across in the free loops of the original strap chain.
Finishing Off
When you have made it to the end of your project or just the end of a section and you need to tie up your ends, here is the way that I finish off.


Now you are ready to weave that end into the work. Use a crochet hook that is a few sizes smaller than they one you made the piece with. Put the hook behind and/or under the various loops on the piece and pull the loose ends to hide them. Cut off any remainders, once you have it under a few stitches.
OR, if you are working with something that you will add another color to, you can just make sure the loose end goes under the new stitches as you go.
(There are other ways to do this, but I like this one the best.)
First, chain two.

Then, make the loop a little bit larger (for weaving in) and cut the loop.

Then, pull the working yarn out.

You're left with a loop with the yarn pulled through it.

Grab the end, and pull.

Tightly.

Now you are ready to weave that end into the work. Use a crochet hook that is a few sizes smaller than they one you made the piece with. Put the hook behind and/or under the various loops on the piece and pull the loose ends to hide them. Cut off any remainders, once you have it under a few stitches.
OR, if you are working with something that you will add another color to, you can just make sure the loose end goes under the new stitches as you go.
(There are other ways to do this, but I like this one the best.)
Tuesday, July 12, 2011
Whoopdwhoop
Have you heard of Whoopdwhoop? It is a site where you put things up for swap and when someone wants it, you get 'whoops' credits to swap with other people. No money involved. It's a pretty neat idea. It is still fairly small, but I've had some success swapping back and forth and it's pretty fun!
(If you are interested in joining, give me your email address and I'll send you an invite. --I get some whoops that way! Thanks!)
(If you are interested in joining, give me your email address and I'll send you an invite. --I get some whoops that way! Thanks!)
Turning your work
Once you have completed a row of stitches, you'll need to turn your work to continue making it taller.

Start by yarning over.

Then, you make one chain. (It will be more chains for taller stitches.)

Turn your work from right to left.

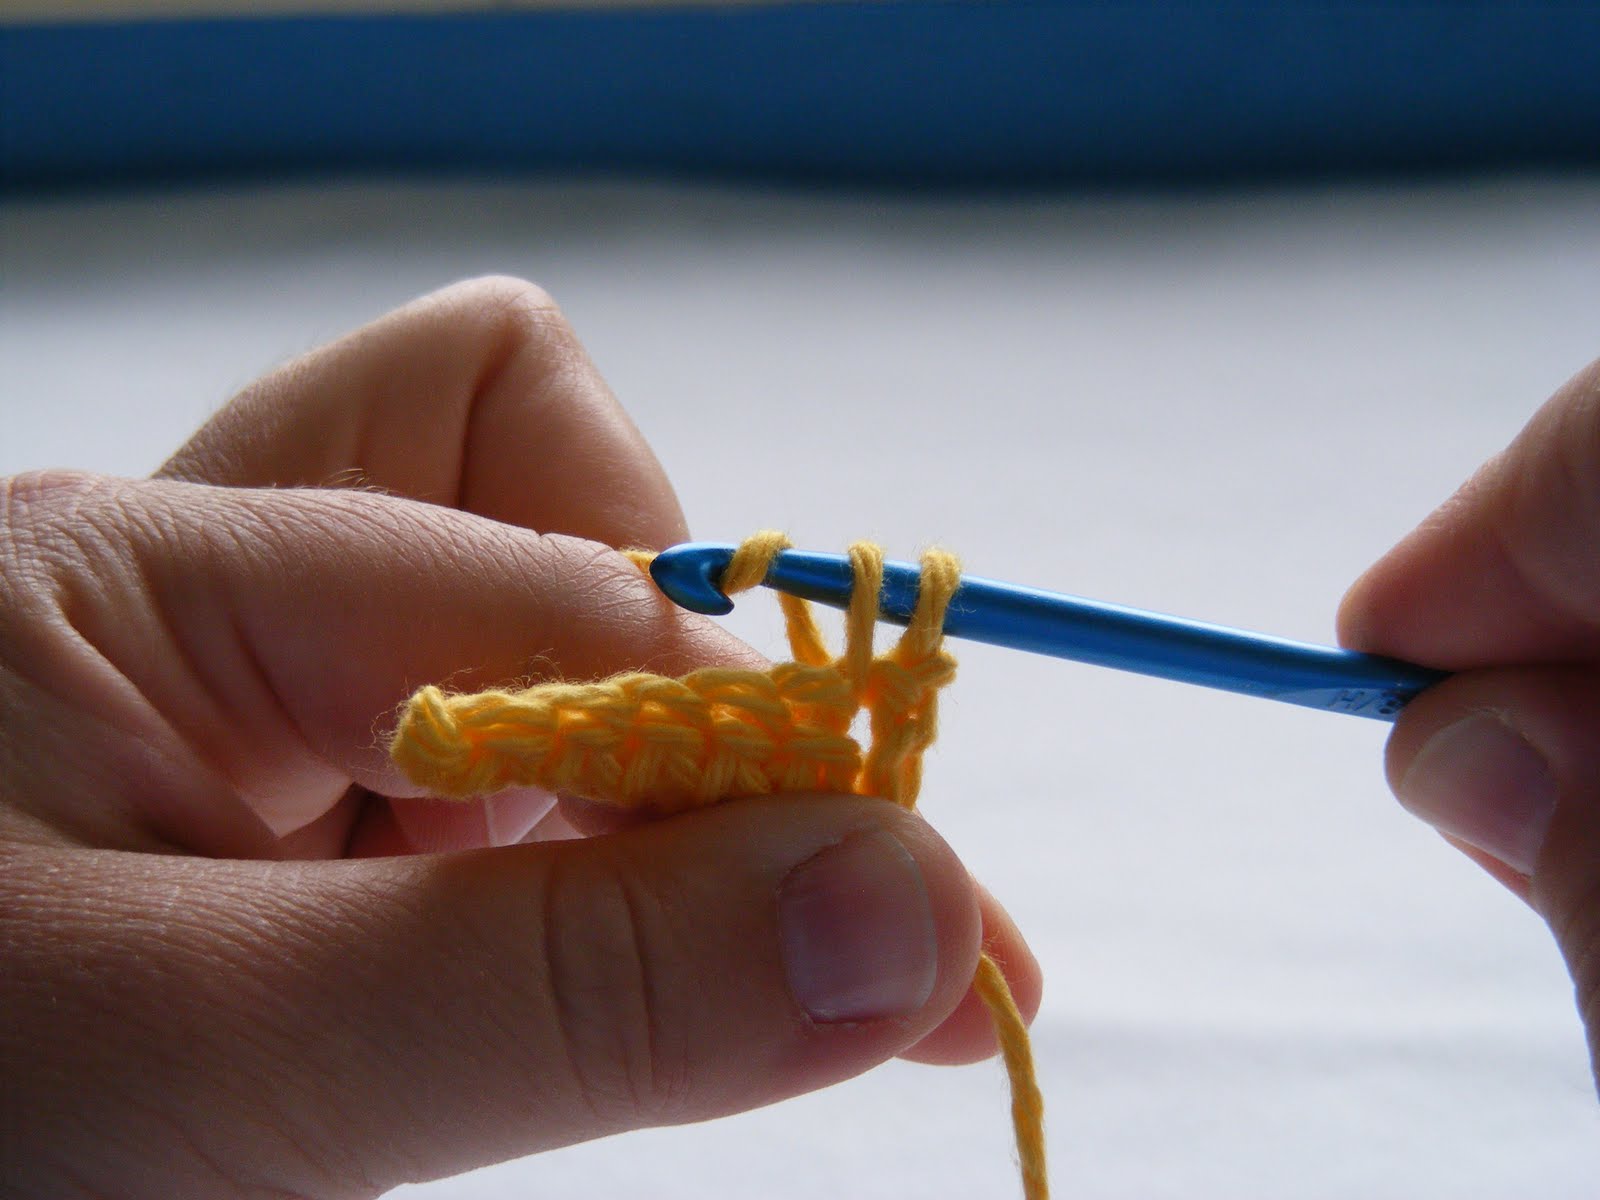
Now you are ready to crochet stitches across again. For single crochet, you will insert your hook in the top of the first single crochet from your hook. Make sure you get under both loops as shown in the picture.

Yarn over.

Pull the yarn through.

Now you have the two loops of a single crochet.

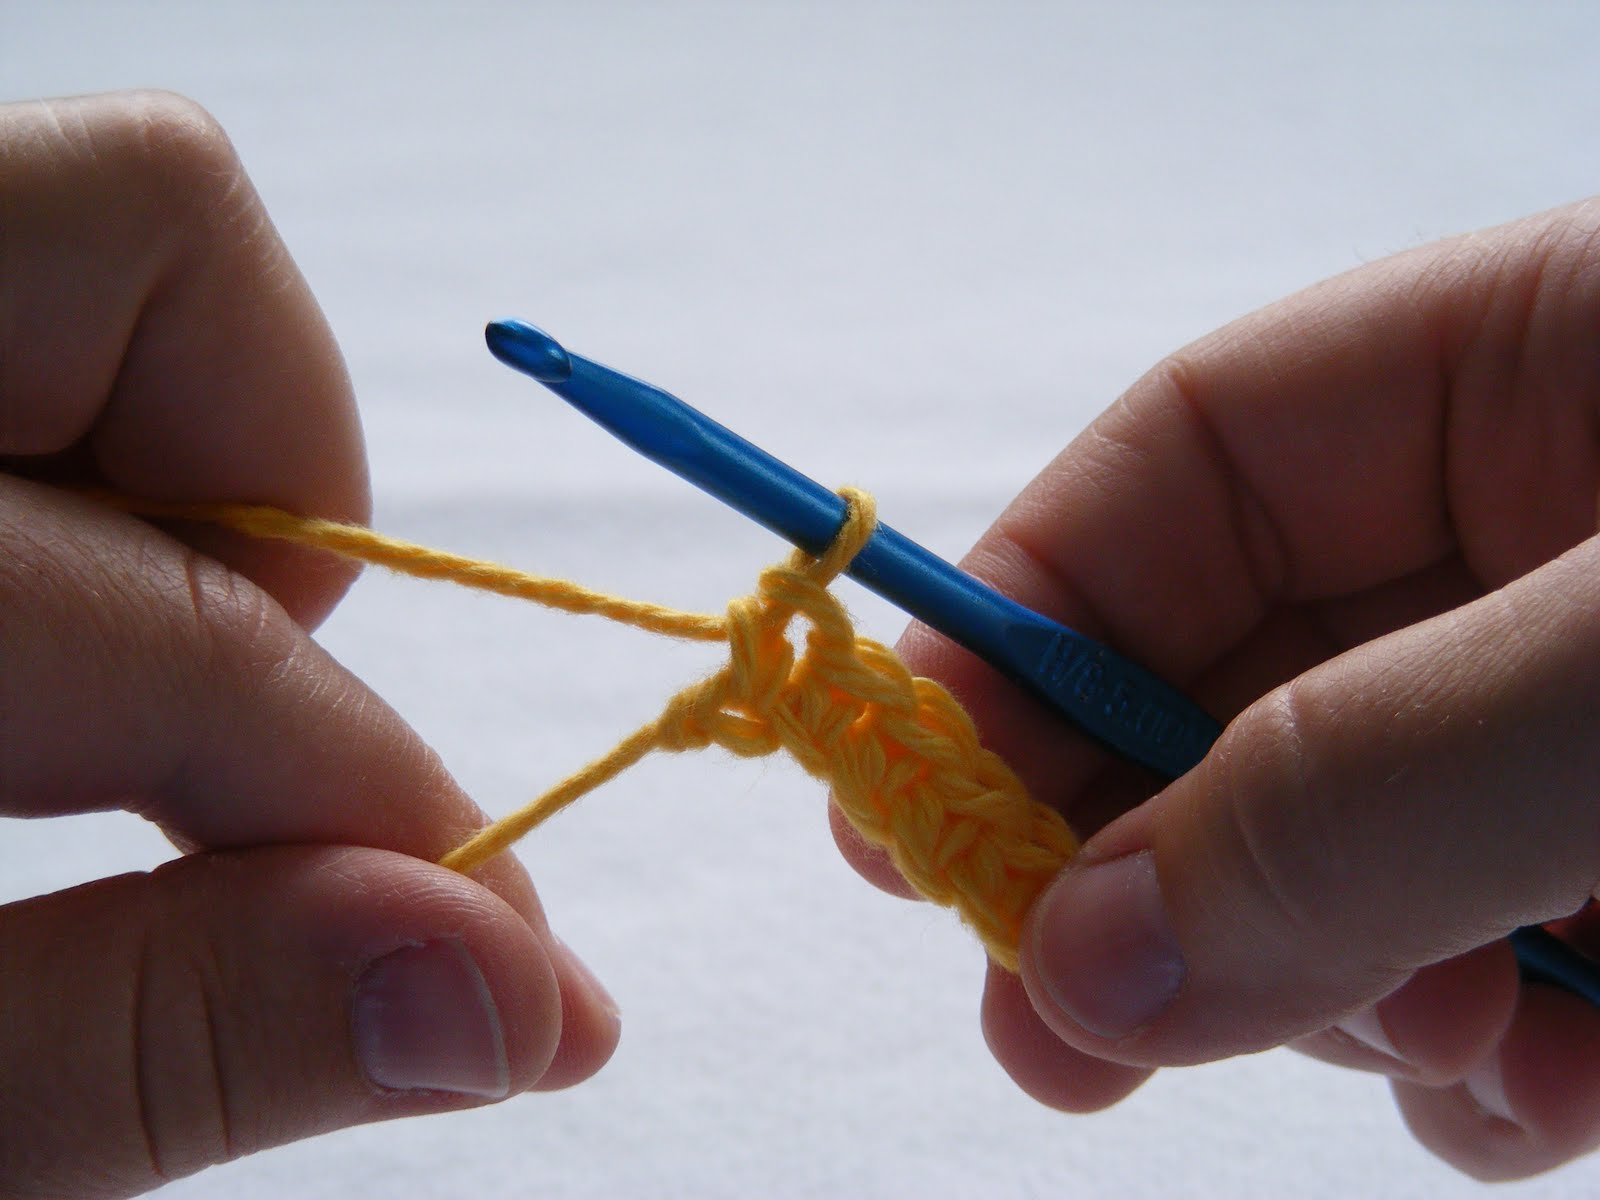
Yarn over.

Pull through both loops on the hook.
You have another single crochet.

Crochet to the end of this row and repeat for as many rows as your pattern calls for or for as long as you want to!

Monday, July 11, 2011
Great list of 'How To' Sites
I found this link to a lot of other links about tons of crochet how-tos. Have fun!!
Single Crochet
To make a single crochet (sc), begin with a length of chains.

Insert hook in the second chain from your hook.

Yarn over.

Pull loop through the chain.

Yarn over again.

Pull yarn through both loops on your hook.

And you have your first single crochet.

Continue on to the end of the chain!
Subscribe to:
Posts (Atom)